
I’ve run a lot of Excel training. One of the most common questions is “How do I print onto one page in Excel?”. The idea sounds simple, doesn’t it?
I have seen some truly imaginative ways that users will sit and play with an Excel spreadsheet in an attempt to get it to print perfectly. When I tell you that it will only take 30 seconds to make your Excel worksheet print perfectly onto 1 page wide, I mean it – 30 seconds!
Let’s look at an example. Whilst not a massive amount of data, I would expect that this would easily fit within the width of 1 page. I have 13 headings running across my columns with a total of 41 rows. The worksheet is set to Landscape page orientation.
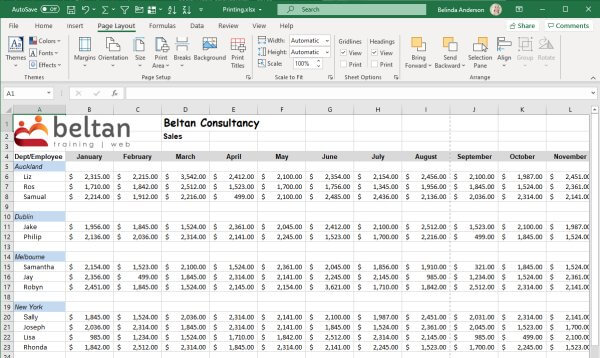
If I have a quick look at the Print Preview, I can see the worksheet is going to print across 4 pages. Nope, not happy with that.

How do I print an Excel spreadsheet on one page?
So our worksheet is going to print across 4 pages which isn’t good enough. I want this to print perfectly onto 1 page wide so let’s see how we can fix this.
- Open Microsoft Excel
- Locate a workbook which you are having difficulties with when printing
- Press Ctrl + P on the keyboard to see Print Preview and note how many pages your worksheet is currently going to print across
- Press Esc on the keyboard to return to the worksheet so we can make some adjustments
- Select the Page Layout tab from the Ribbon
- Locate the Scale to Fit group of buttons

- The only part I want to edit is the number of pages that my data will spread across width-wise
- Click the Width drop-down menu and choose 1 page
- Automatically the Scale setting will be greyed out and Excel will take control over the scaling of the worksheet
- My worksheet has been scaled down to 73% of the original size

- Generally speaking, I find that if the Scale setting is 60% or above, then my printed version is going to look ok. If you find that the Scale has dropped down lower than 60% you will need to make some further adjustments so that your printed copy will still be at a legible size
- Press Ctrl + P to Print Preview your scaled worksheet
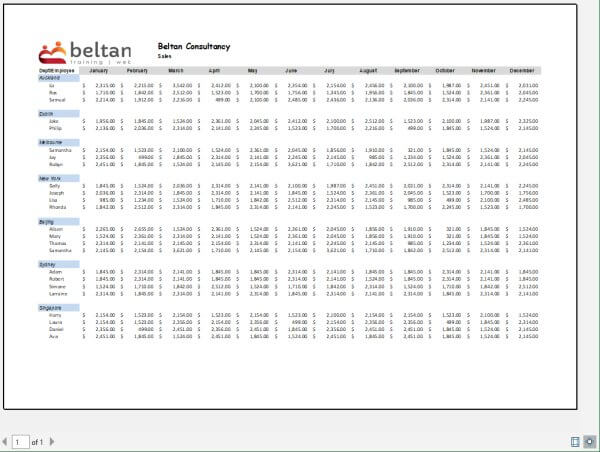
- My worksheet is looking perfect and ready to print onto one page
How to increase page scale
If your worksheet has been scaled lower than approx 60% then you may need to make some further adjustments so that your data will be legible once printed. The easiest way to do this is by claiming back some of the blank space displayed around the outside borders of your worksheet. When you look at my Print Preview above, you can see I have some space around the outside edge of the worksheet where my data could take up some more space, let’s look at how to quickly do this.
- Return to your worksheet view if you are still in Print Preview
- Go to the Page Layout tab on the ribbon again
- This time click the Margins button from the Page Setup group

- My margins are currently set to Normal, instead, I will select Narrow
- My Scale setting changed from 73% to 79%
- Press Ctrl + P on the keyboard to view Print Preview and see how your worksheet looks now

- My data is now taking up more space on the space
- I’m now ready to go ahead and print my worksheet
I hope this helps solve a common printing issue within Microsoft Excel.
Reference: https://www.thetraininglady.com/print-on-one-page-excel/