
A fantastic way to organise shortcuts you use on a regular basis is by creating your own custom toolbar menu which you can then display on the Windows Taskbar and have easy access to whenever you need. To create a custom toolbar menu you simply create a folder on your computer and place any shortcuts you wish to access inside the folder. The folder then acts as your own shortcut menu which you can access via the Windows Taskbar.
Create the folder and add shortcuts
To create a custom menu in Windows 10, follow these steps:
- Open the File Explorer window using the shortcut keys Windows Key + E on the keyboard

- You can either create your custom menu folder in the Documents area of your computer or I tend to put it directly in the C:\ so that I don’t accidentally delete it and it doesn’t make my Documents area more cluttered
- Select the C:\ of your computer, it may have various different labels such as Local Disk or OS, etc but you will see the C: displayed in brackets

- From the Ribbon select, the Home tab and click the New folder button
- Give the new folder a name, I usually use something like Shortcuts
- Navigate to any location on your computer which contains a file you wish to include in your new custom menu. This can include entire folders or individual files
- Right mouse click on the file and select Create shortcut
- Scroll to the bottom of the window and locate the new shortcut file. Now Cut the shortcut file out of the current location by pressing Ctrl + X on the keyboard
- Return to your custom toolbar folder (C:\Shortcuts) and right mouse click and select Paste or press Ctrl + V on the keyboard
- Repeat this process for each file you want to include in the new custom toolbar menu

- You may like to rename each shortcut to something which is easier to identify the file, you are not renaming the actual file or folder, only renaming the shortcut file
- Once you have finished creating all the shortcuts, you need to display the shortcuts in the Taskbar area
Display the shortcuts on the Taskbar
- Right mouse click on the Taskbar at the bottom of the screen
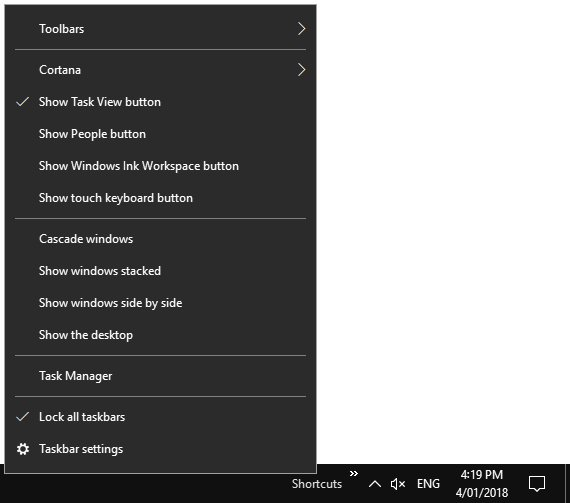
- From the menu select Toolbars > New toolbar
- The New Toolbar – Choose a folder window that will appear:

- Navigate to C:\Shortcuts, or the location and name you made your folder and select the folder (do not open the folder)
- Click the Select Folder button
- You will now see the custom toolbar menu is displayed on the taskbar, to the right-hand side near the clock and system icons

- Click the double arrow (>>) displayed near the name of the toolbar and you will see the list of your files displayed for easy access

TIP: If you would like the files displayed in alphabetical order simply right mouse click on any file in the toolbar and select Sort by Name.